|
...I have some bad news to share. The Super Sledge, the one I have been working on since the beginning, all the way back to November of '11, has broken. 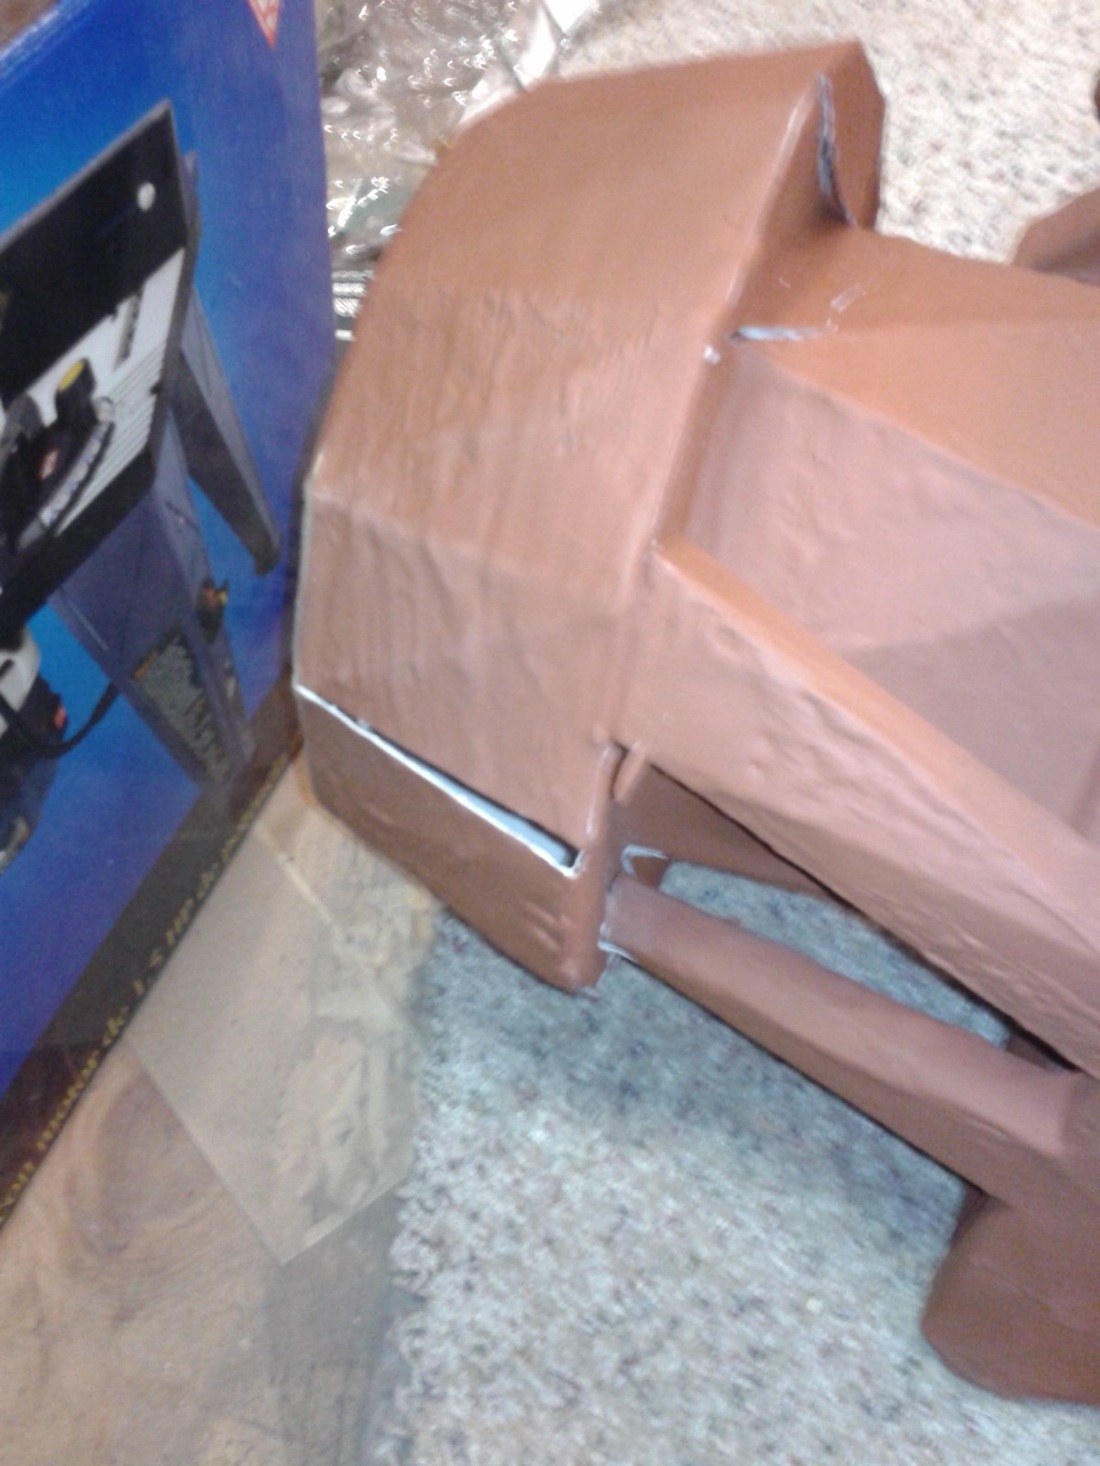
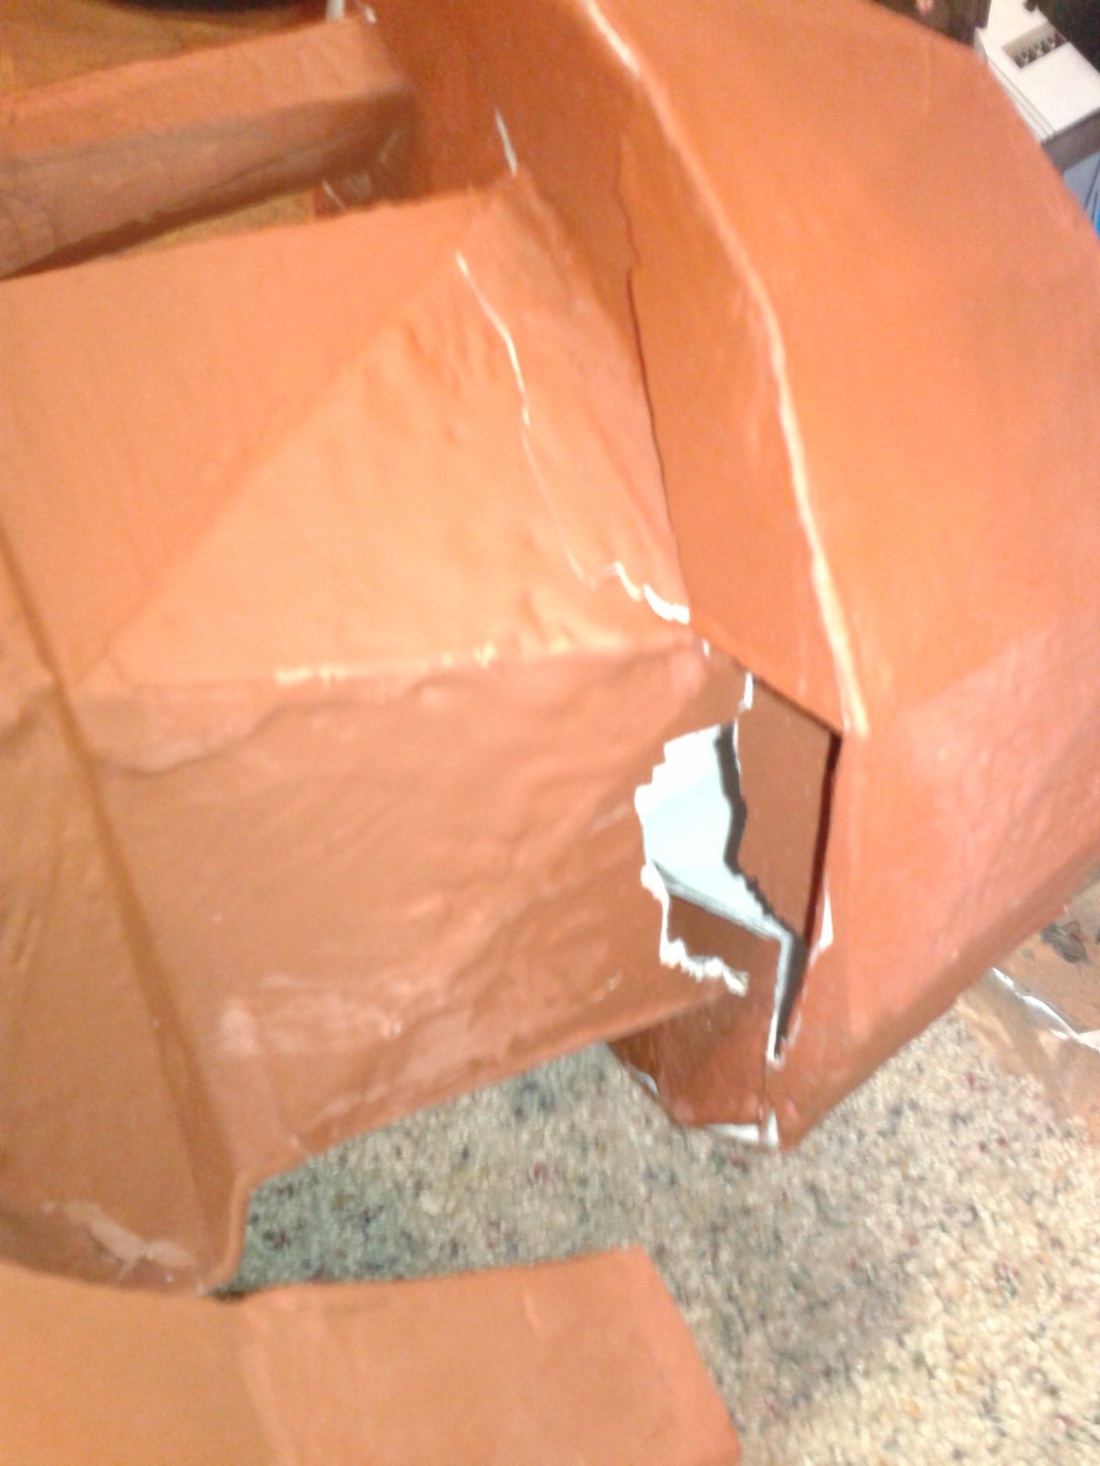
It fell over because I had nothing sturdy enough to brace it while I was painting the primer coat. Here I was thinking that if I added another coat or two of bondo it would be too heavy to carry around long, but maybe I should have because it fell right on one of the heads and smooshed straight in.
I don't even know if it is fixable without completely overhauling both that side and the other side. And I sure as hell don't have enough time to do it by my original deadline for NDK. I'm in such a bad mood right now I can't even think straight. Gonna take a breather for now and come back to it eventually. Might just scrap it entirely and do it again later. Dunno.
0 Comments
Hello all! I just wanted to get some really awesome news out to you, some of which I promised via Twitter yesterday. Firstly, while randomly browsing the interwebs for inspiration for new items for the Shop, I came across a neat little link: http://walyou.com/m8-avenger-foam-replica/ Apparently, my Etsy listing for the M8 rifle was featured on walyou! It's a short, simple one, but they were very kind and hey, it's my stuff! I'm honored! Thank you to Jude Cavale, the writer of the article, and sorry that I didn't see it sooner (was posted in June)! Next, the really super awesome exciting news! I have been a long time fan/supporter of Child's Play, a great organization that benefits children in hospitals. I have looked up to them since first hearing about them, and have always wanted to be able to donate (stupid lack of moneys). My chance to help, however, may have just arrived at my doorstep! I have been approached by Mass Effect Marathon, who are holding their third main event this October/November, and raise money for Child's Play while doing a huge run of the Mass Effect series. They do fun things all the while, like donation based silliness (see the site - it's awesome) and other fun things like raffles and auctions. In a nutshell, they have asked if I could donate something for their event, and I have wholeheartedly agreed. I've got some extra items left over from Steam Fest that I may send, and I would like to send one of each of the weapons I make for the Shop, so go keep an eye out on their website! This may be a great chance for one of you to win one of these awesome toys, and for one of the best causes out there! Have I mentioned I love Child's Play? No? Well I do! ... Anyway, on to the final bit of excellent news: I have finally finished pepping out every piece of the Fallout armor! I saved the third helmet for last, and here it is: 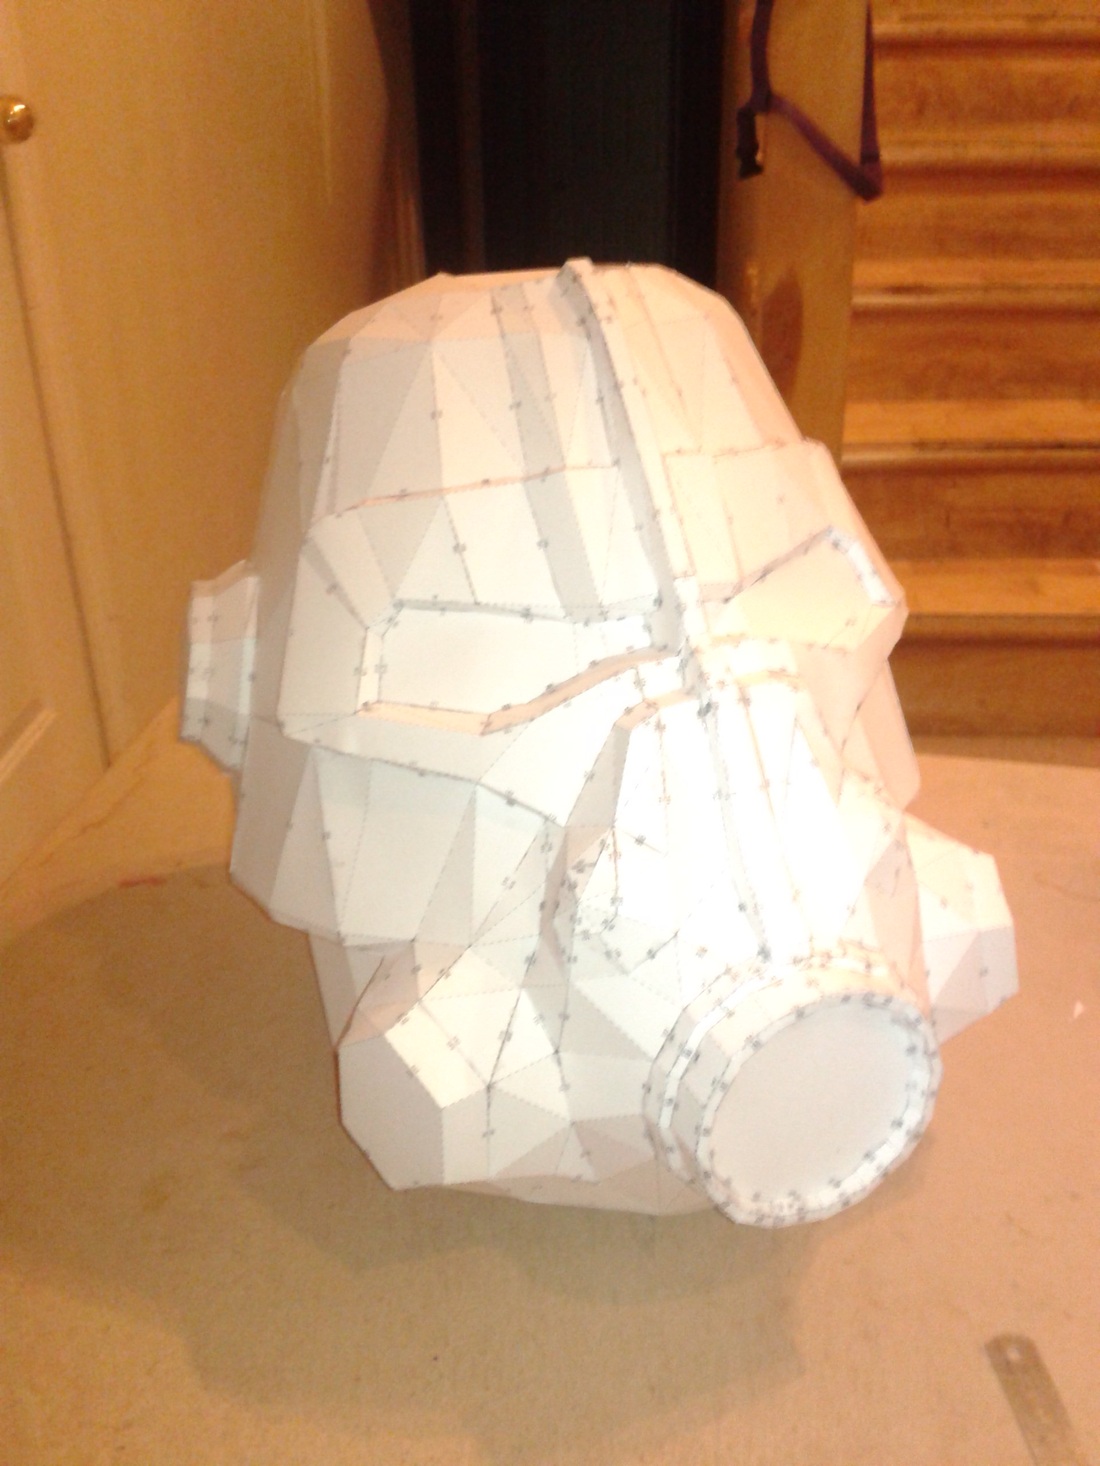
Ain't it a beauty? The awesome thing is.... 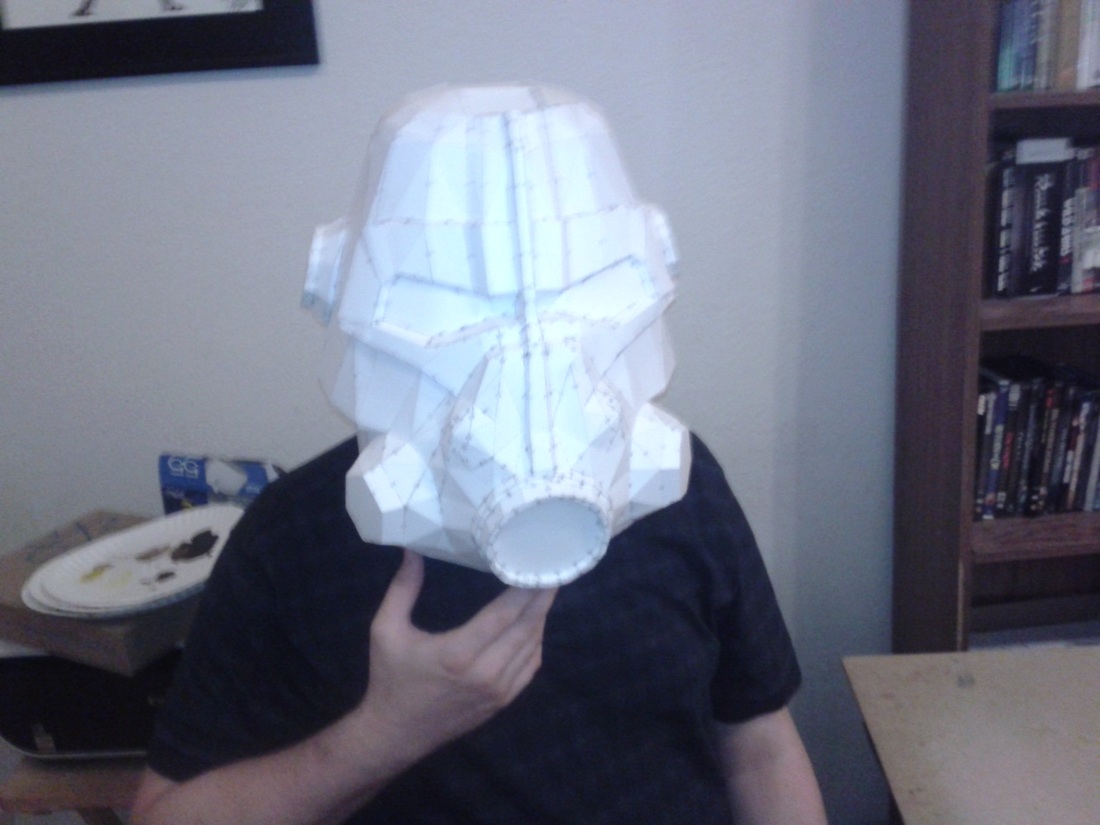
It fits perfectly! Admittedly it is a tiny bit big, but that means it'll have room for padding and gizmos and me being able to breathe/see in it. I'm so happy! No more superglue all over my fingers! No more backache from all the bent-over cutting! Woooooo! 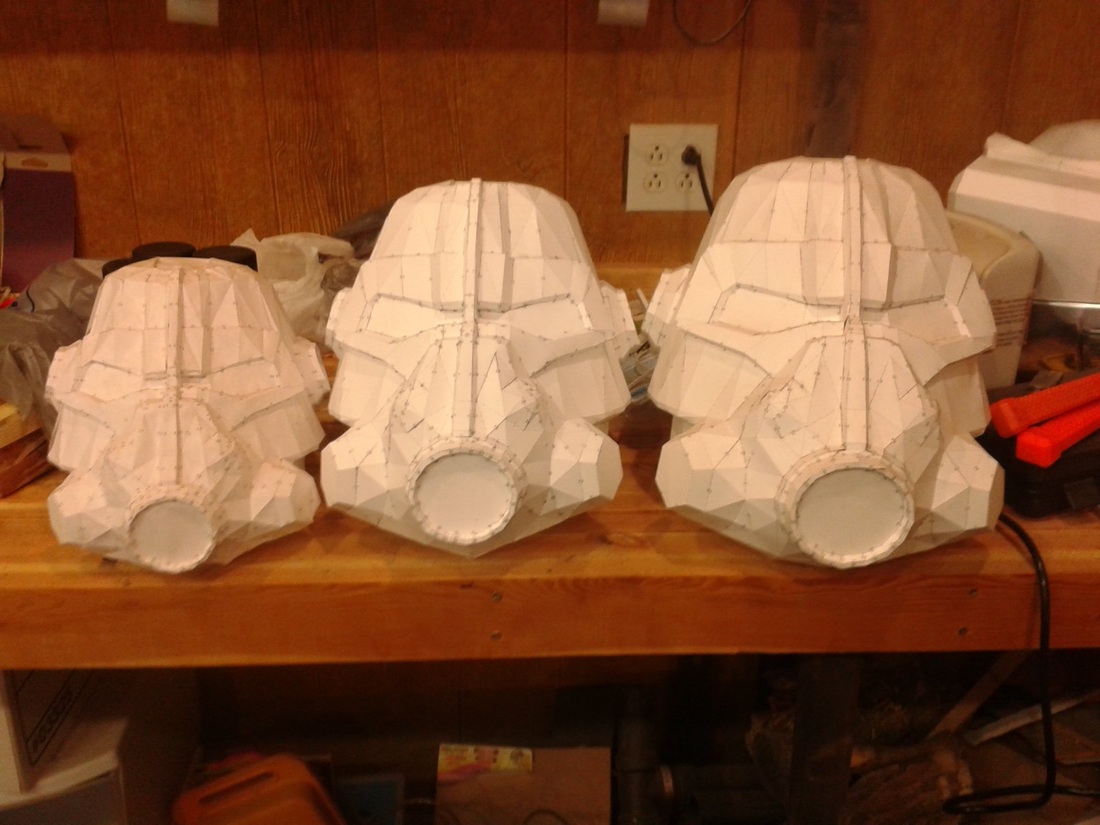
The first one was too small. The second one was too big. The third one? Juuuuuuust right. ;) 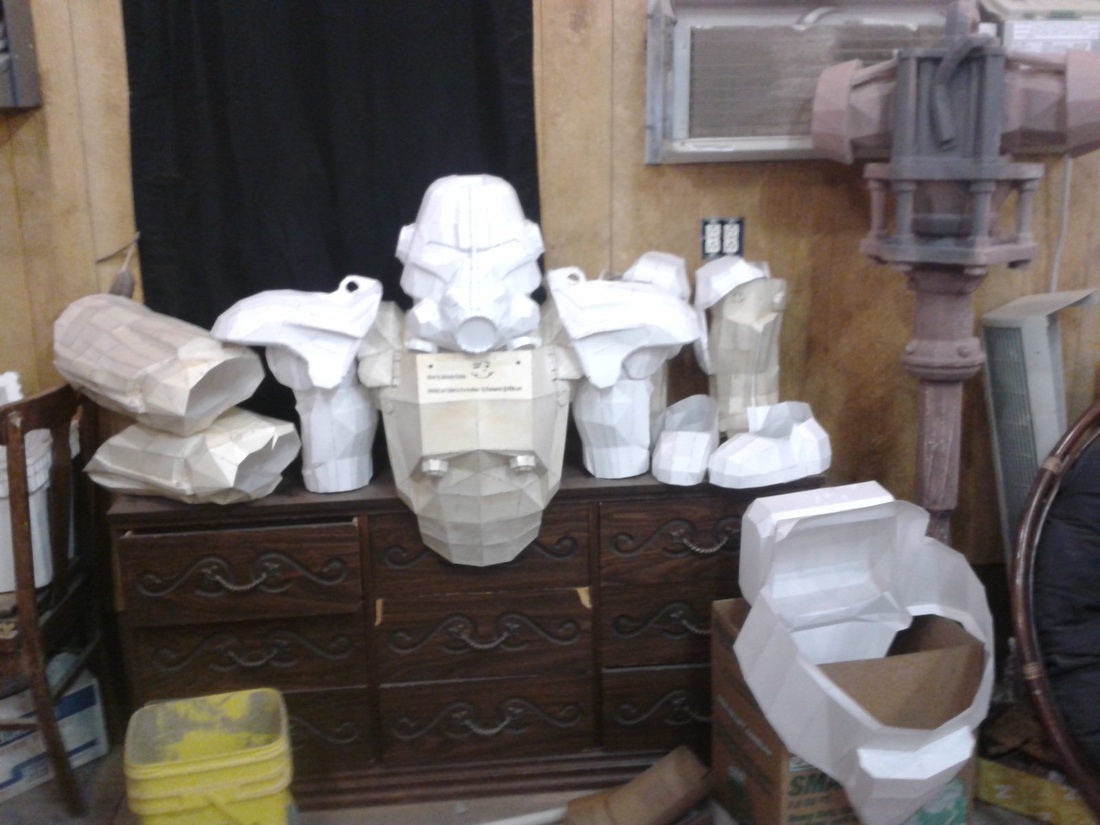
...and the final pile. The forearms are hiding inside the biceps and are great at holding up the pauldrons! The belt/cod is still a bit big, but I plan to cut it down a good chunk anyway. The rest of it, though, is ready to head to the resin/bondo stage. Yay!
Keep an eye out on my twitter feed, which I update constantly with new pictures. I'll update the blog when I have gotten some good progress. Now to find my respirator again! Wheeeeeee! I've made some post-worthy progress on the Fallout power armor build! Here are some shots:  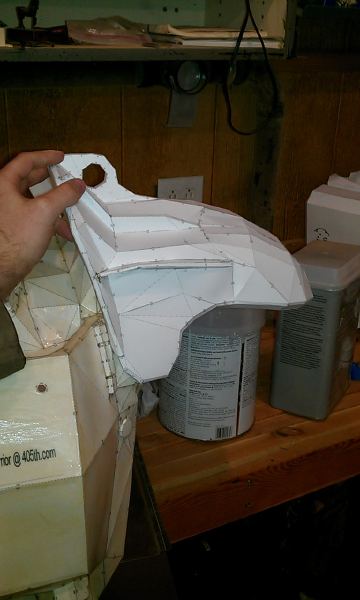 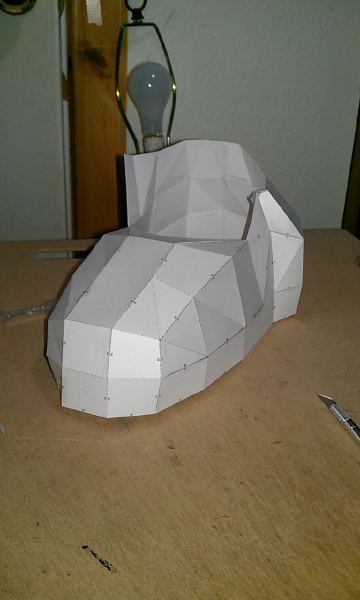 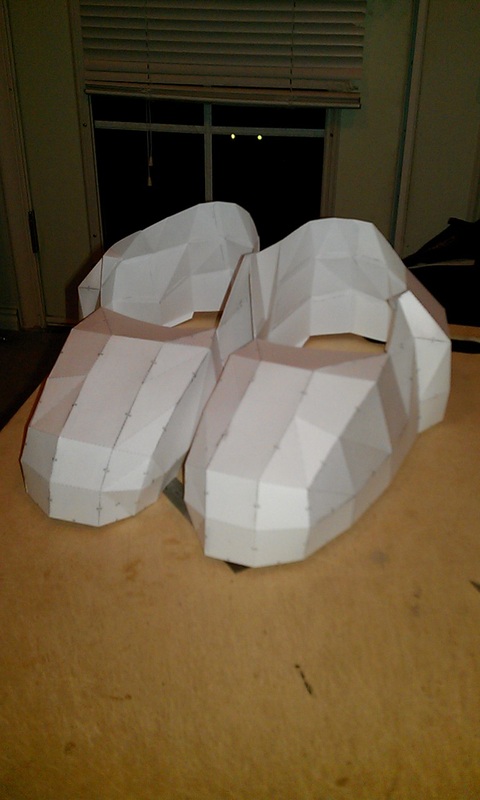 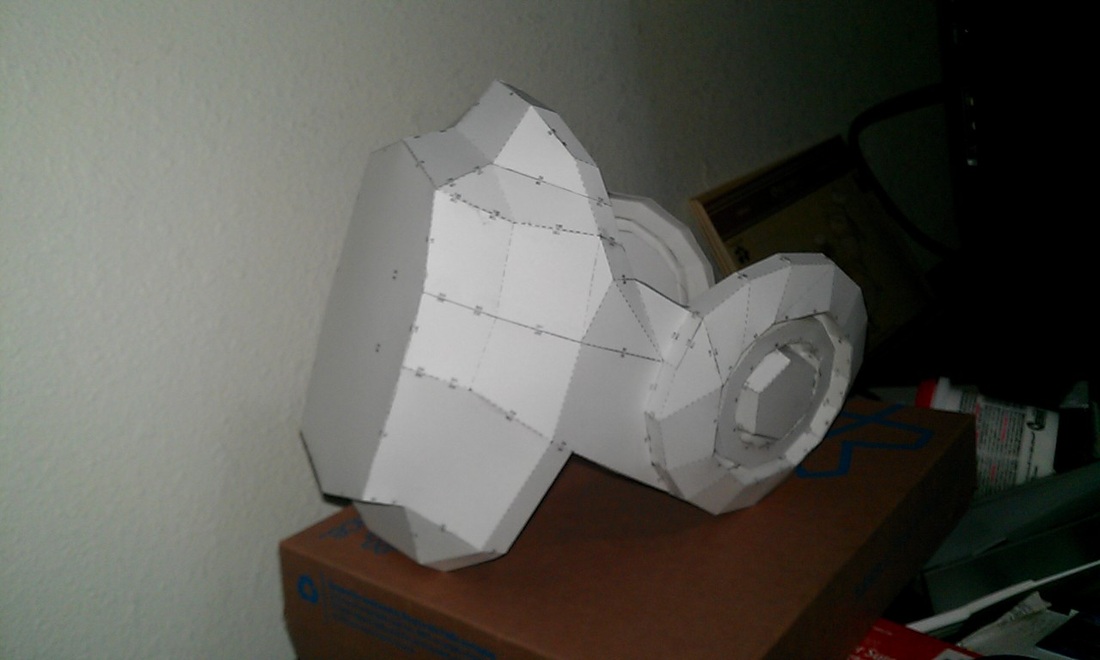 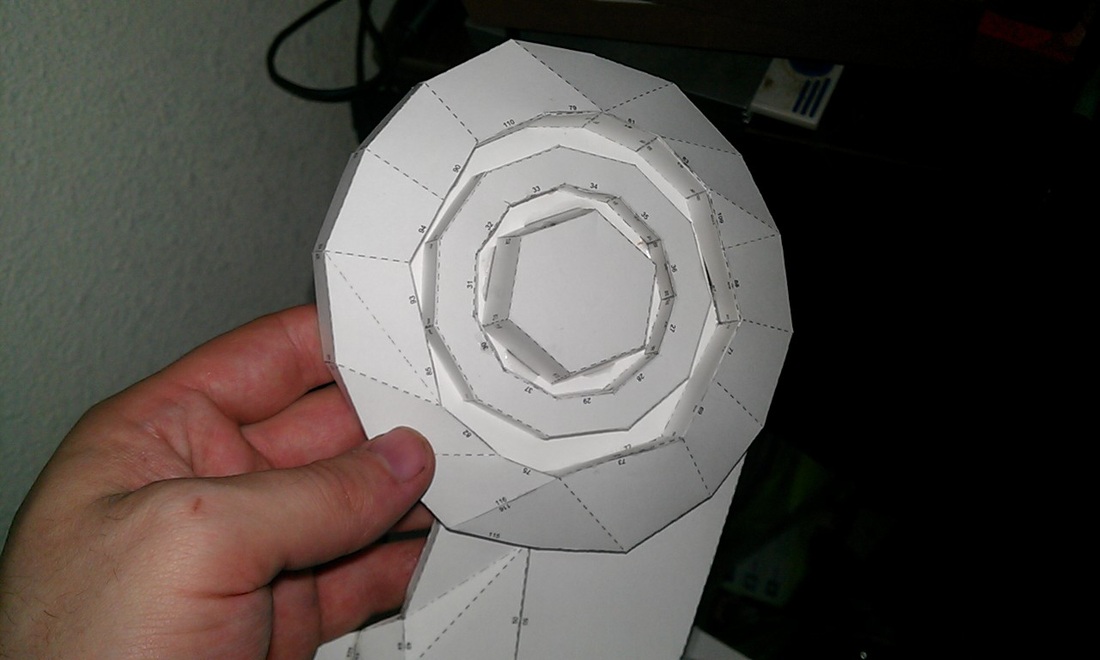 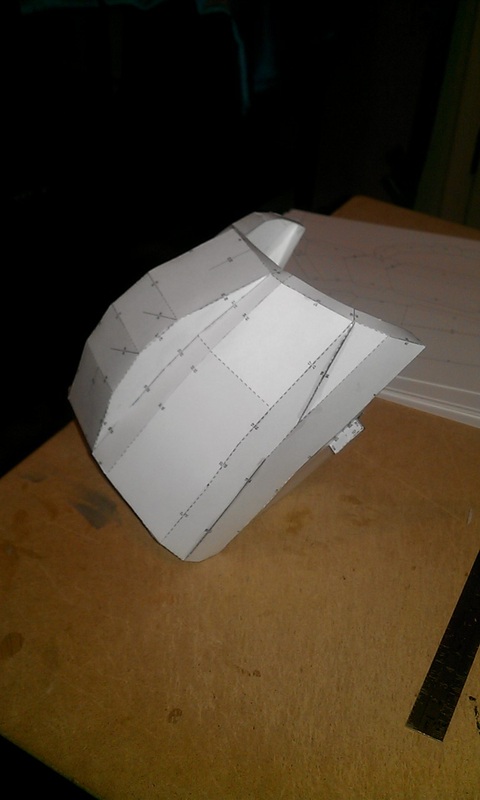 Haven't had as much progress as I would like, but it's nearly there! I've just about finished the grueling pep stage, then it's on to the detailing! Here's the current progress shot: 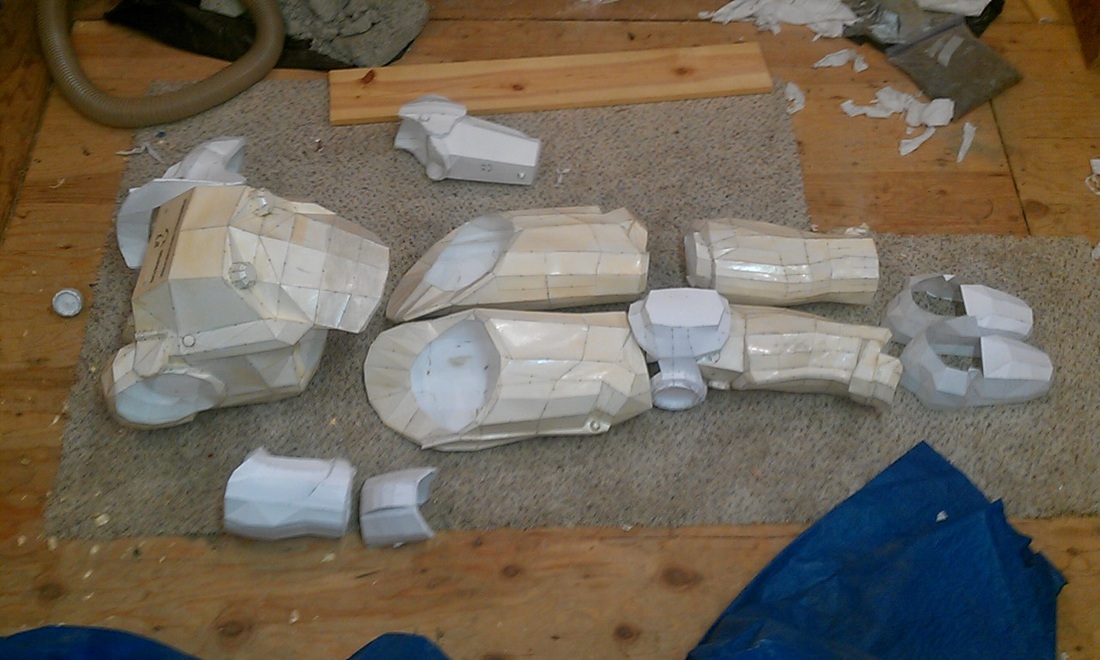 Six pieces left: left knee/bicep, right forearm/pauldron, cod, and helmet take 3! SO excited!
I have acquired a rotary tool and woodburning kit! Now I can progress further with the sledge. However, because I'm about to head to my regular day job, I want to let you guys know the progress so far on the armor I'm making to go with it. Here's the reference pic: 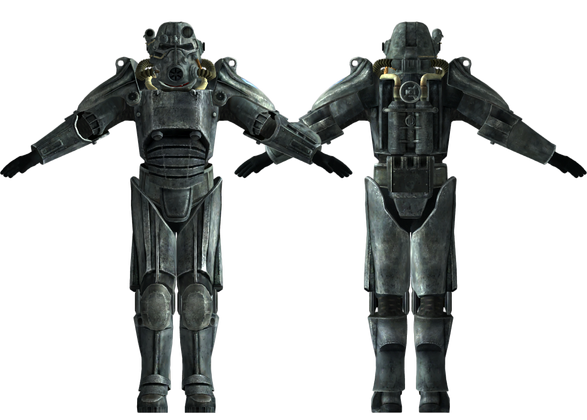 I found a set of the pepakura armor via Roadwarrior, and got started. First, I printed the helmet on regular paper and set each piece with white glue. This was not only to try out pepakura (officially my first go) but also to make sure the size was right. It was good that I checked: 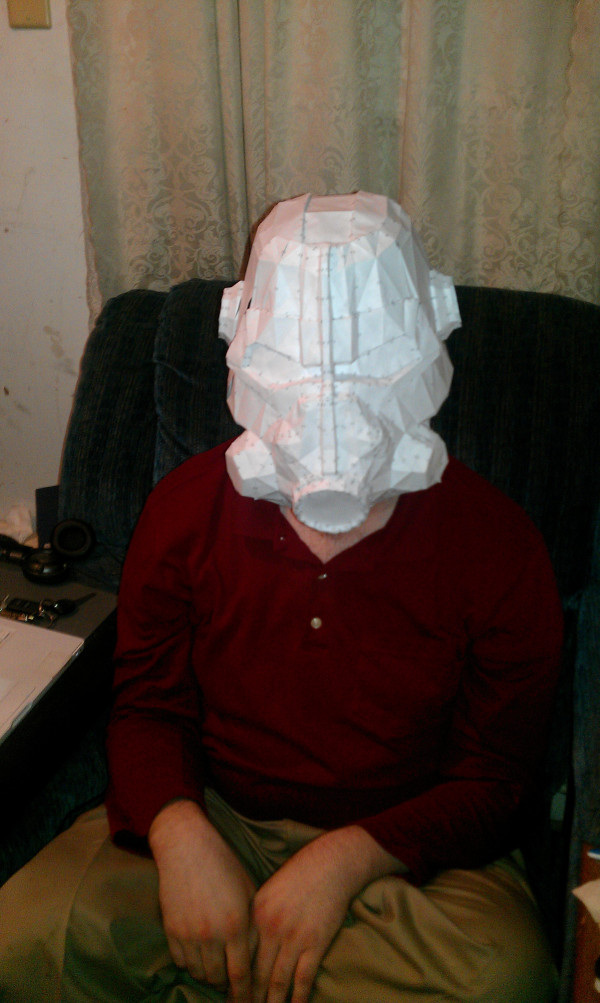
Turns out it was very snug with my head, which meant if I did it that size there would be no room for padding, let alone fans or electronics. So I sized it up, sent the print files off to a good friend of mine, and started cutting. Rather than regale you with a step-by-step, I'll just show you my progress so far: 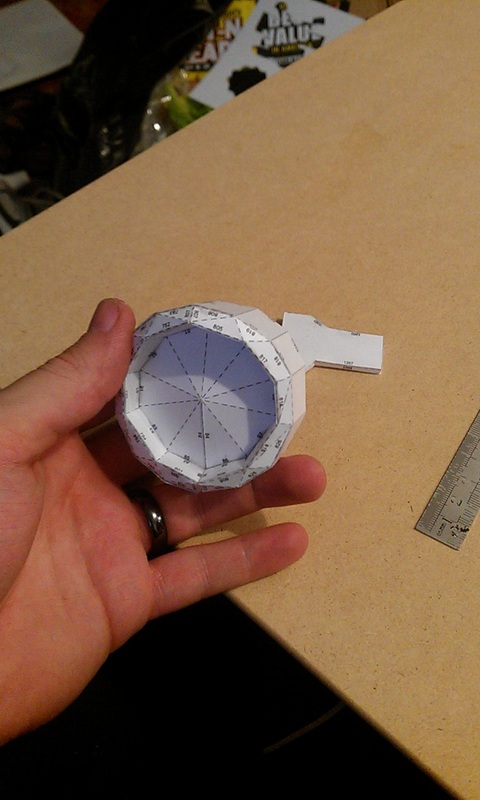 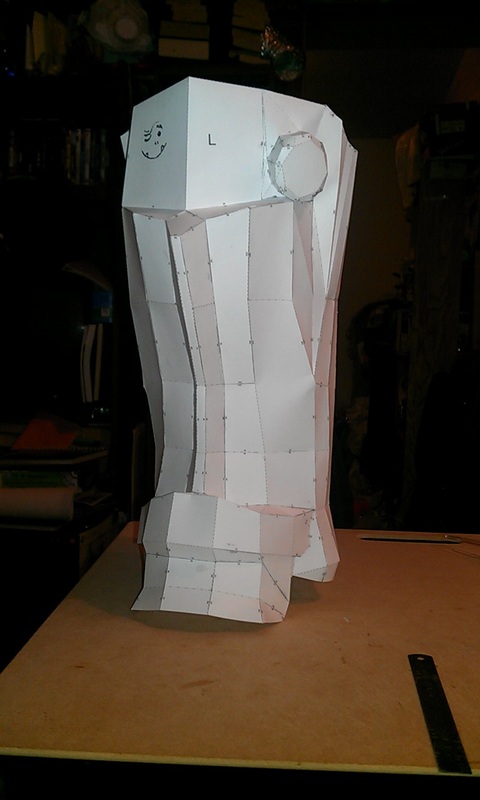 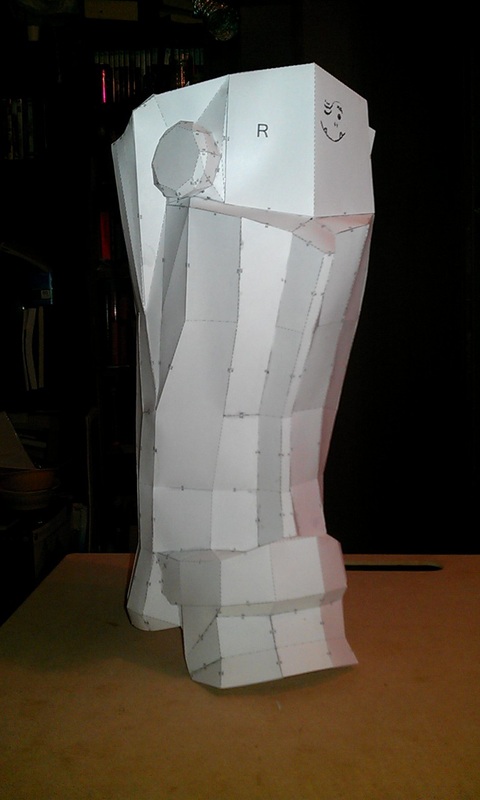 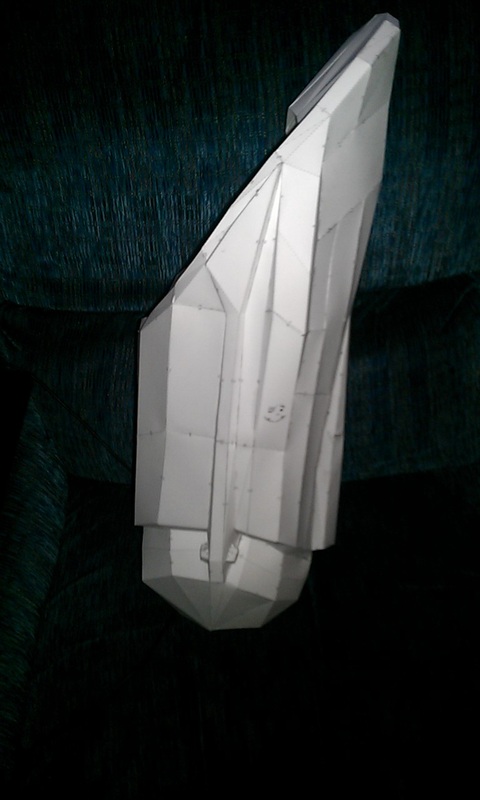 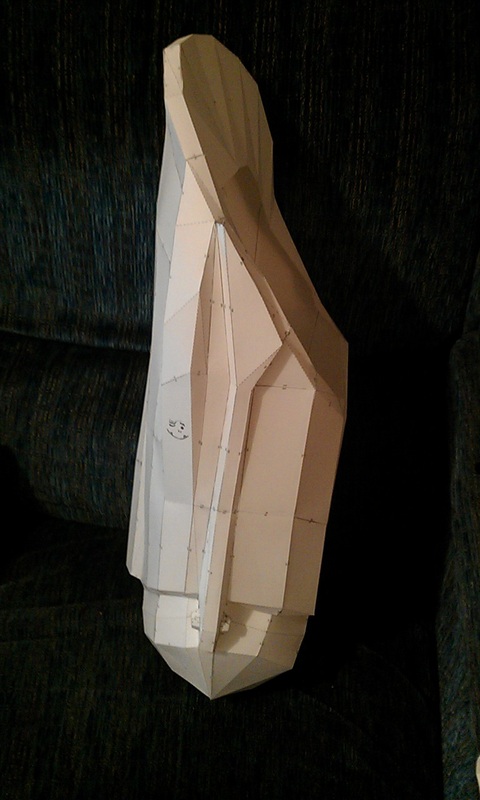 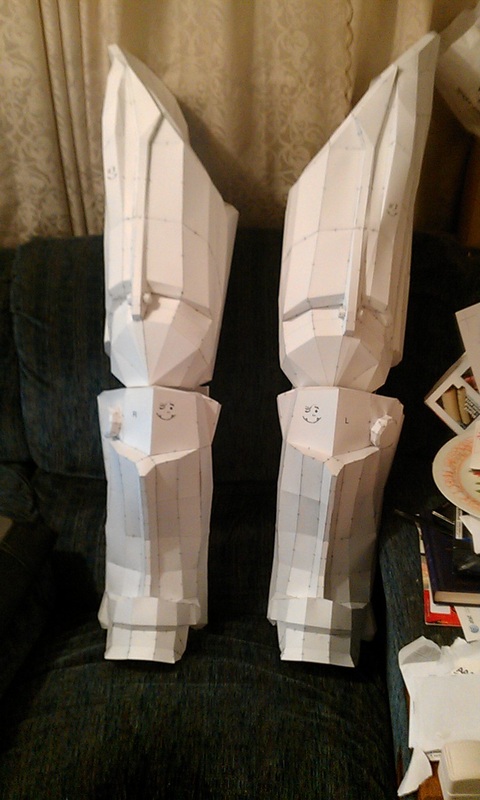 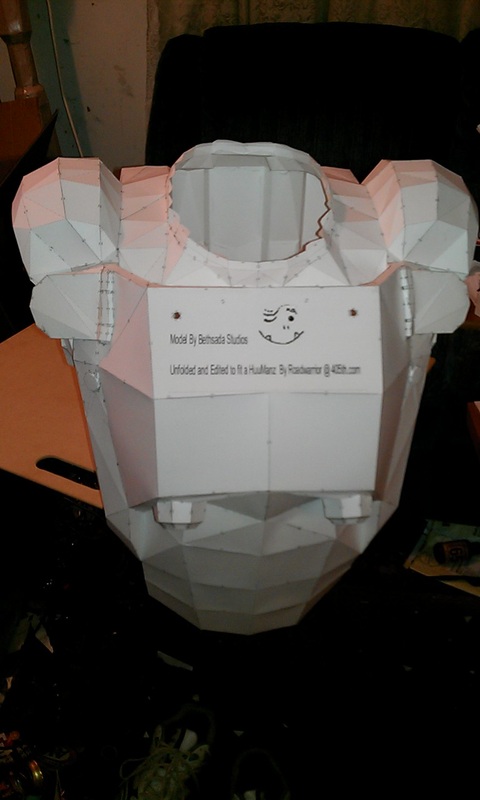   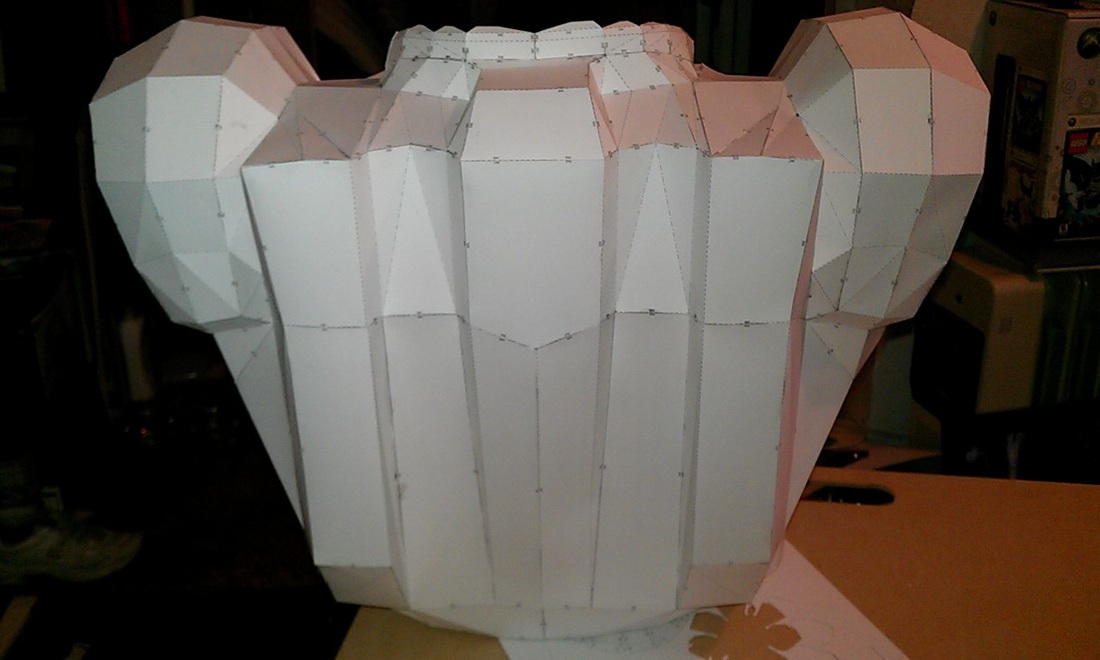 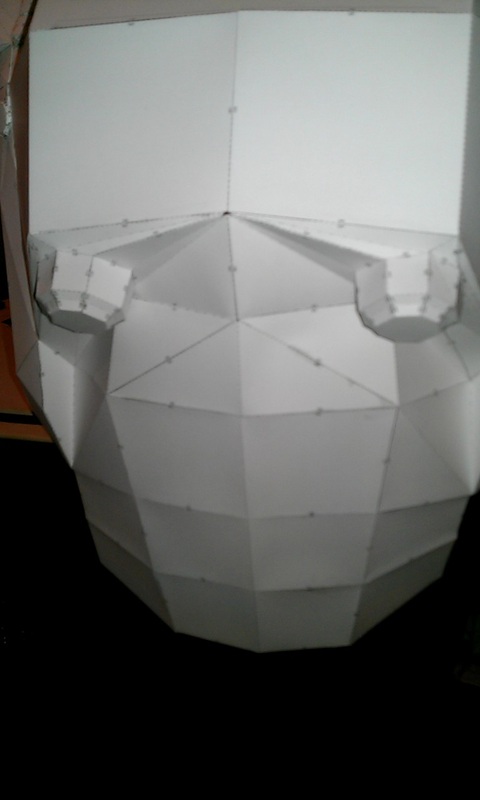 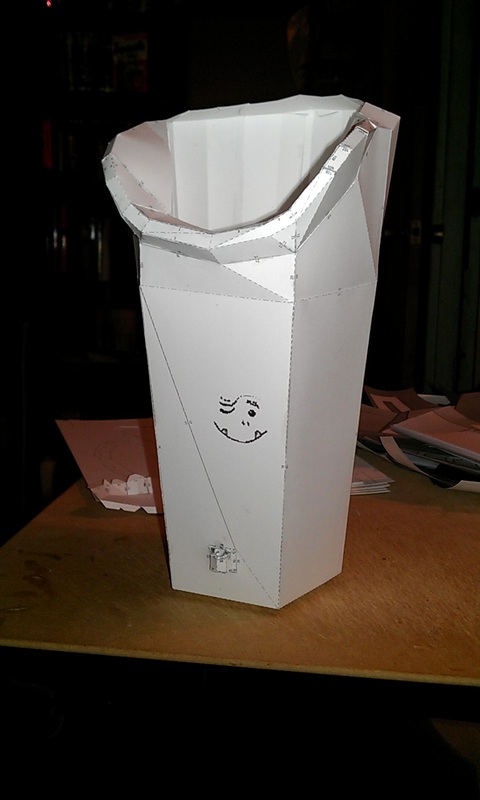 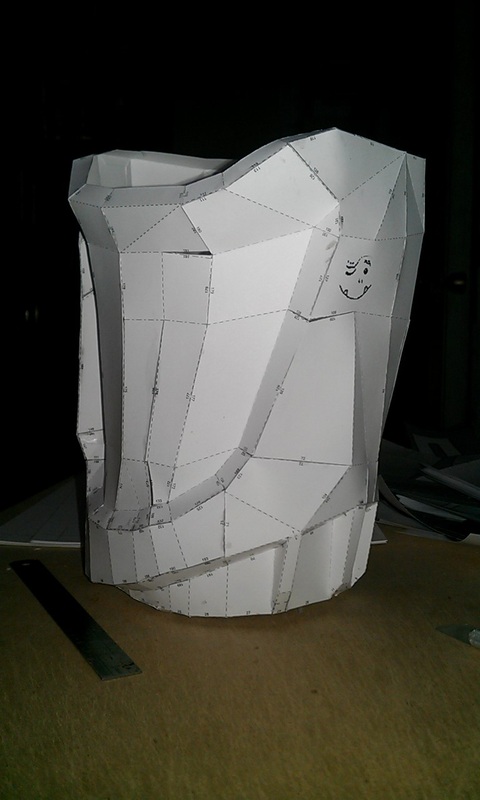  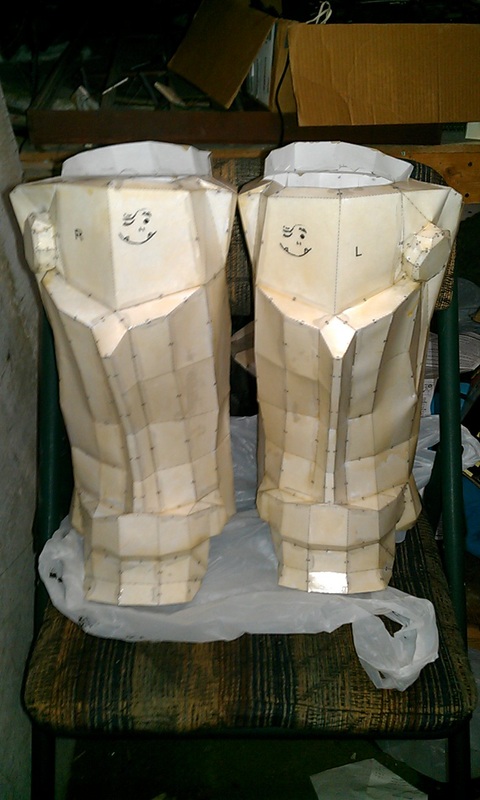 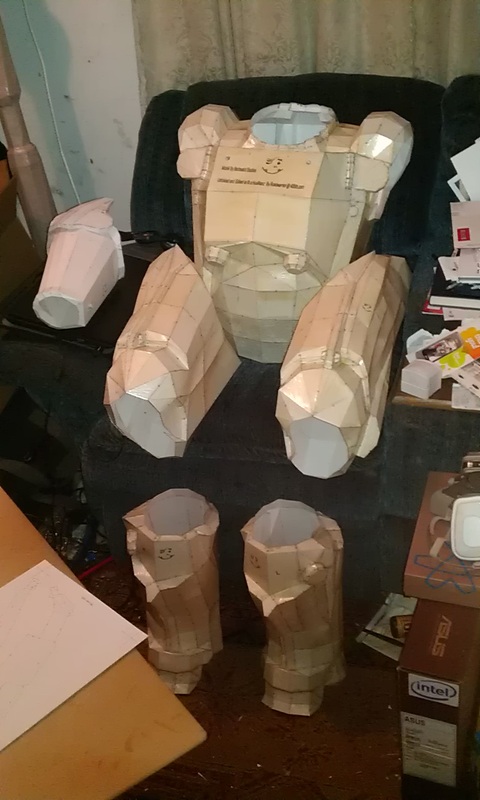 I still have to do the cod, one more full arm, and each of the pauldrons. The helmet turned out super huge: 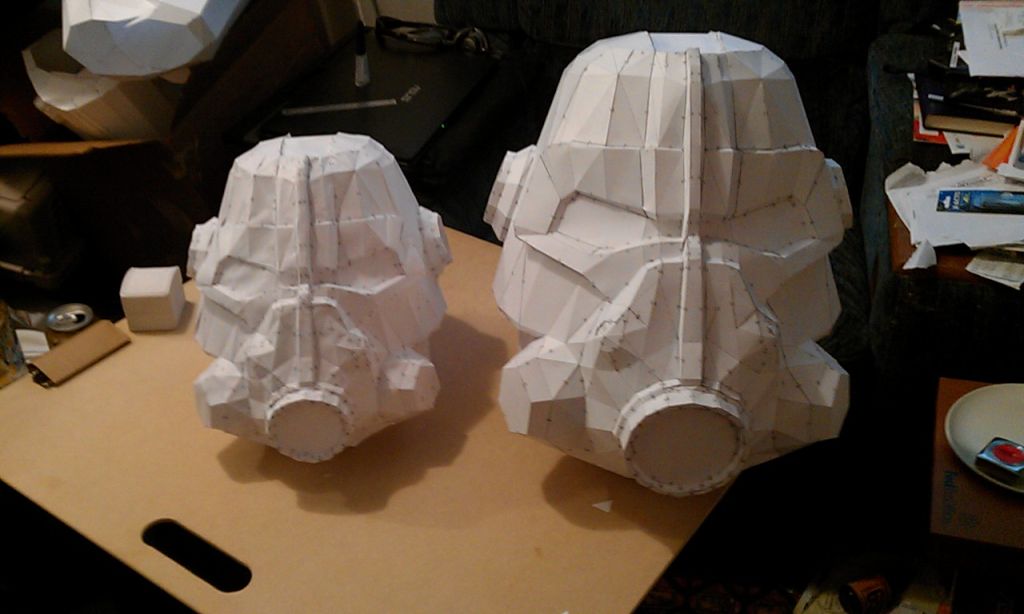 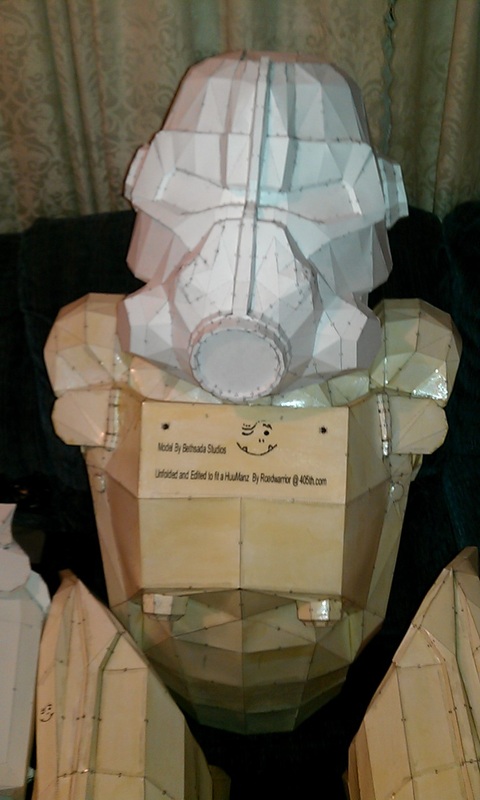 Somehow it ended up being almost as big as the chest, so I had to scale it again. Not really looking forward to doing it a third time. Ended up looking fantastic though.
Aaaaaand that's where I'm at. I'll post a progress report page to the site for this and my other builds, so keep an eye out! My first build, and the one I am farthest on, is the Super Sledge from the Fallout series, specifically Fallout 3. I figured that since everyone makes the laser rifle, I would go big or go home with this one. It's perfect for a cosplay scene, and dang it it's awesome! This one is part of a large armor/weapon build, which I will update in a later blog. I'm preparing this one for both NDK in Denver, CO and Anime Banzai in Layton, UT. First, the reference pic I'm using: 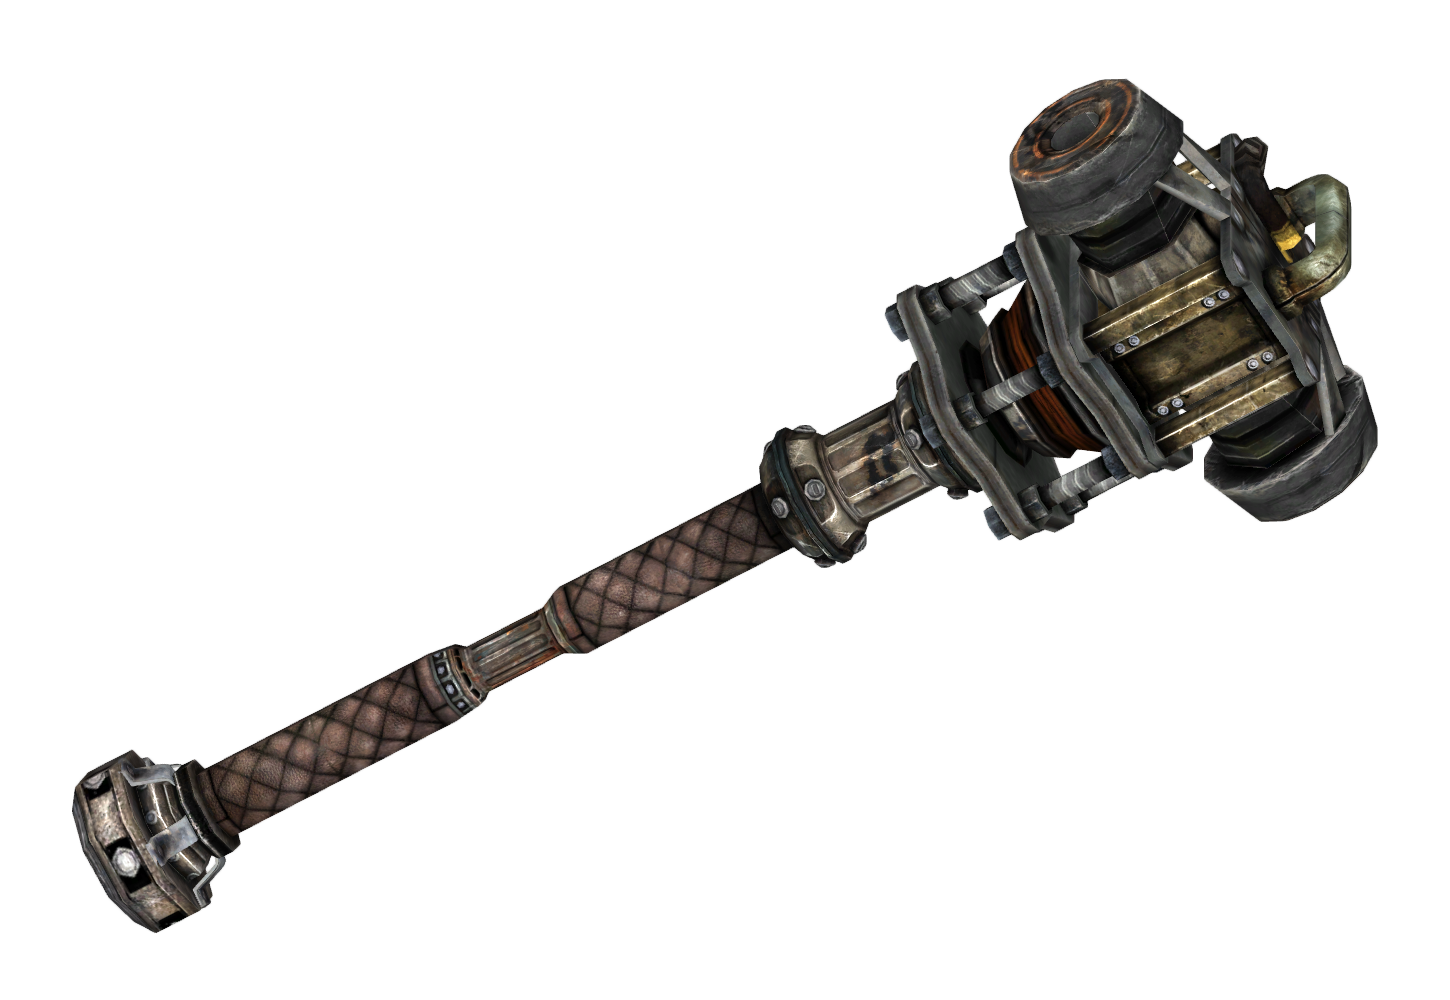
Picture courtesy of the wiki page. I decided to use the pepakura method for this one, because the amount of detail on the head would be much easier to accomplish with it. I used a file found on the 405th and unfolded it myself, printed, and got to work. Here's some progress shots from the build, all found on my Twitter feed. 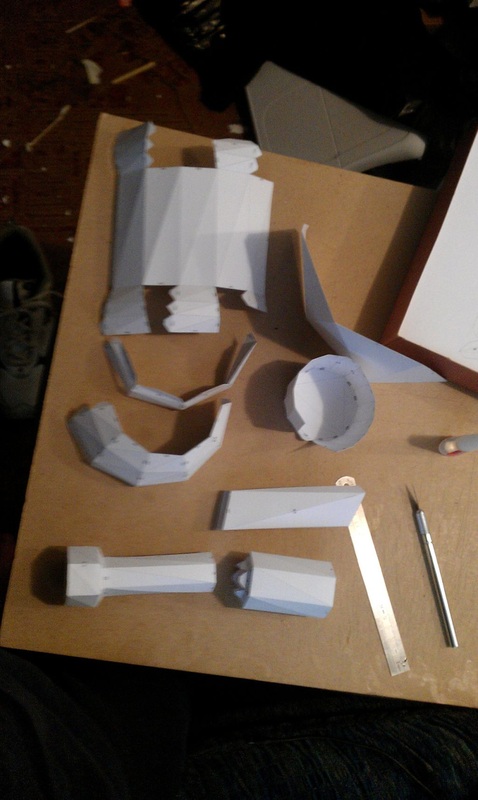 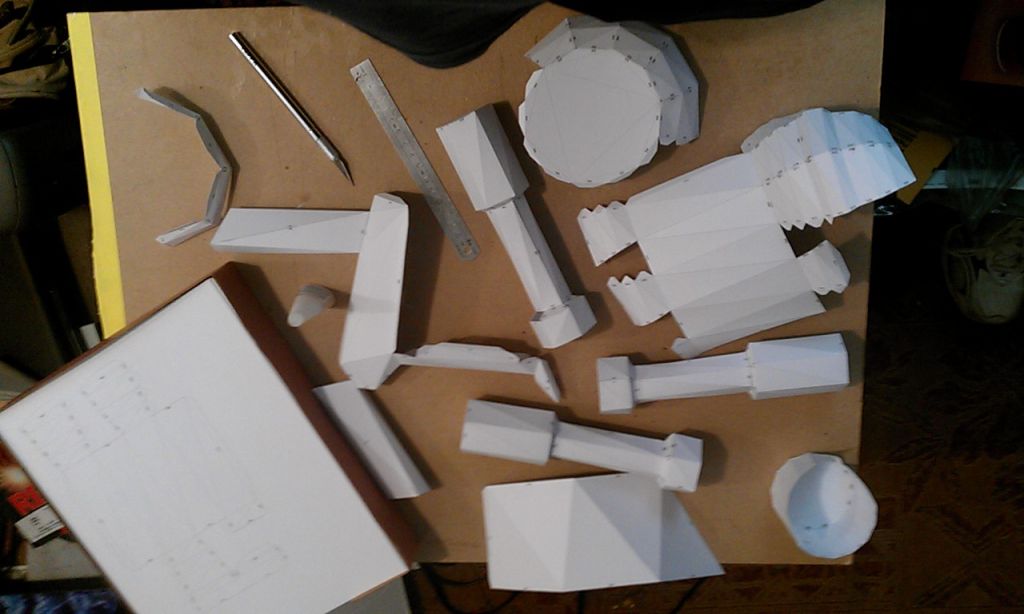 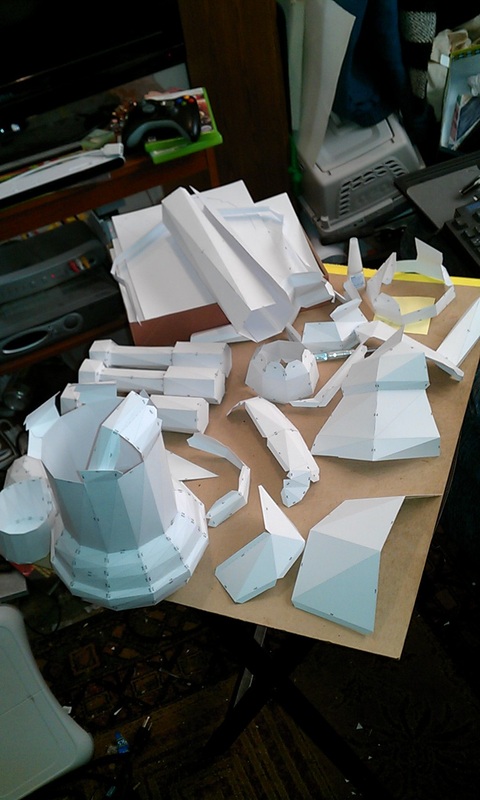 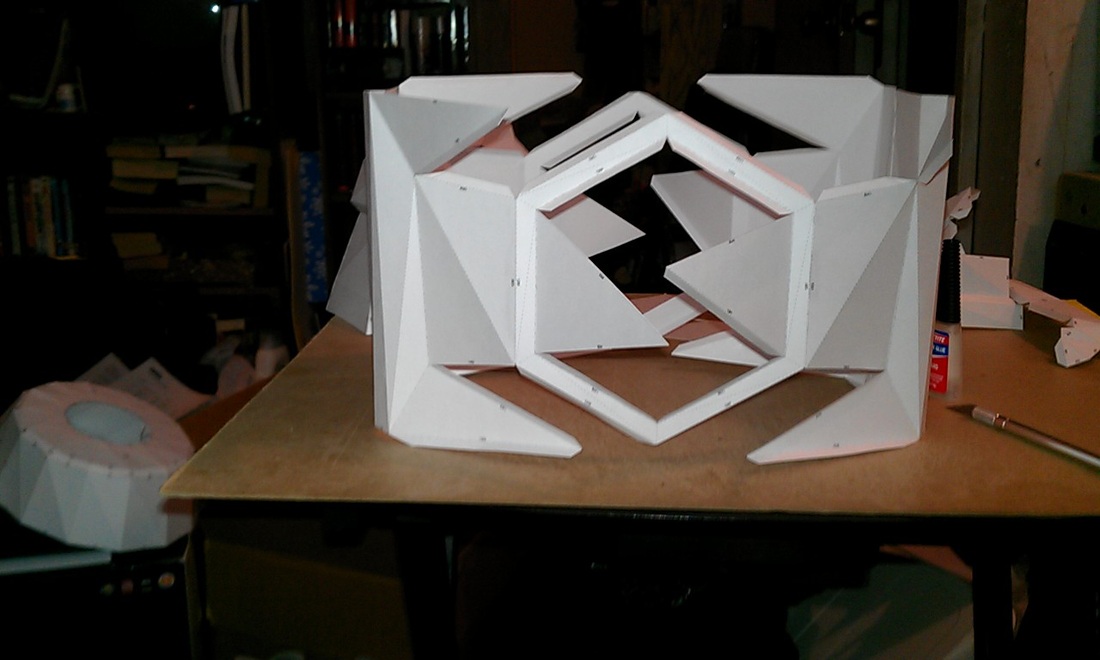 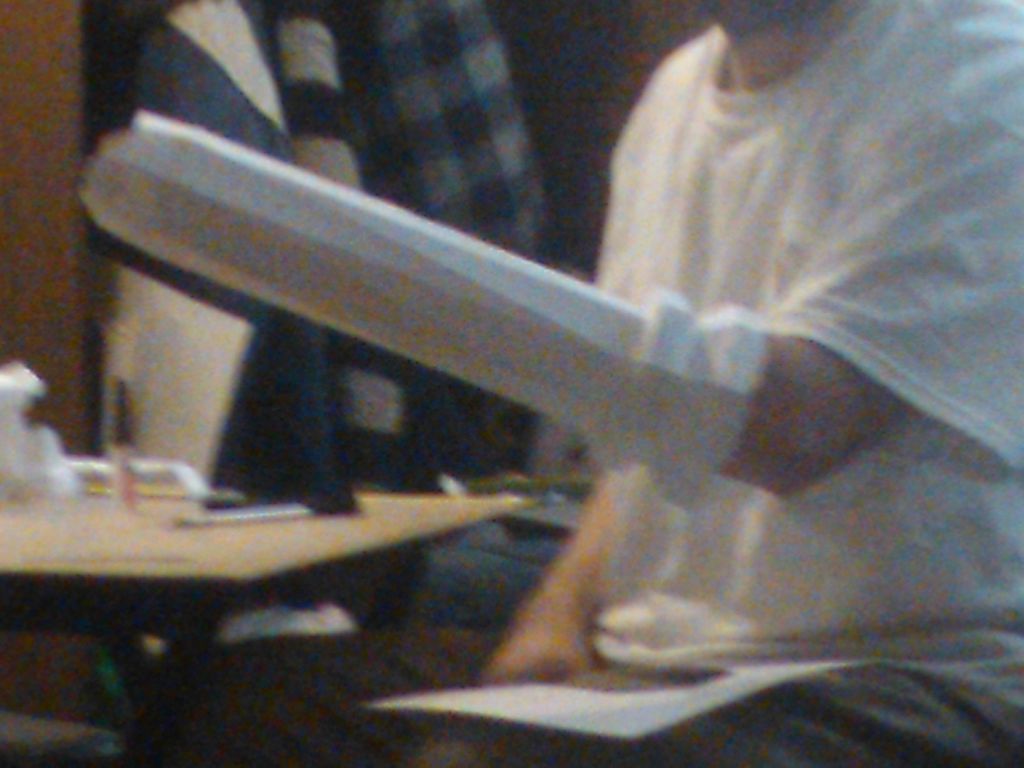 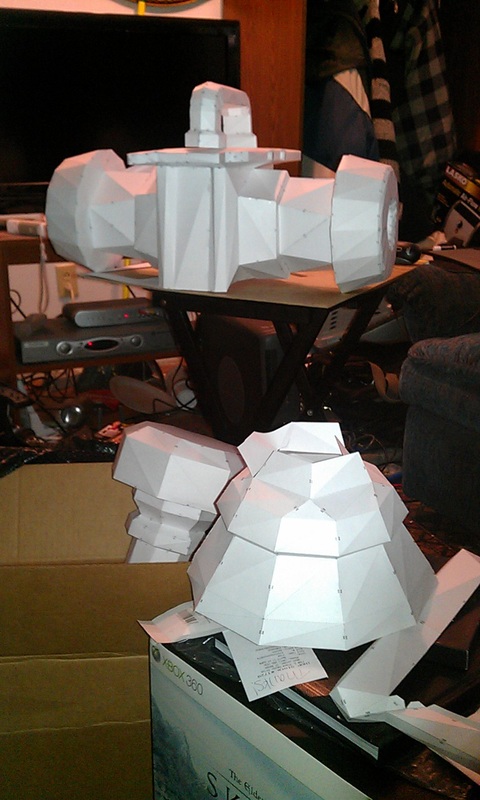 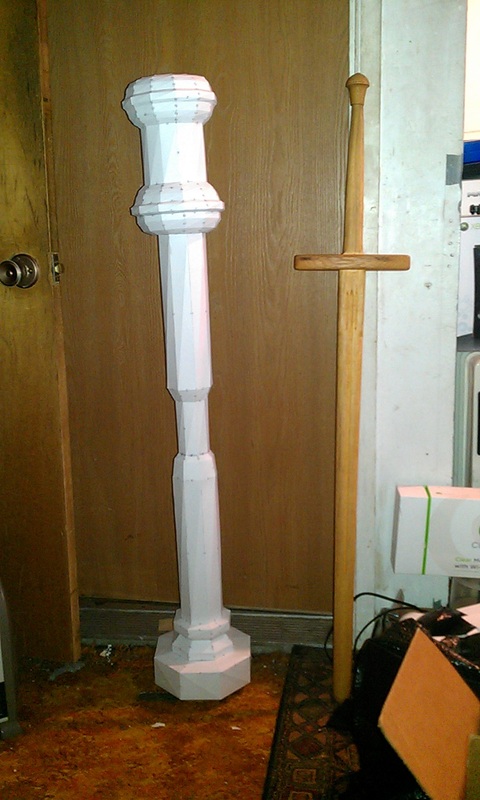 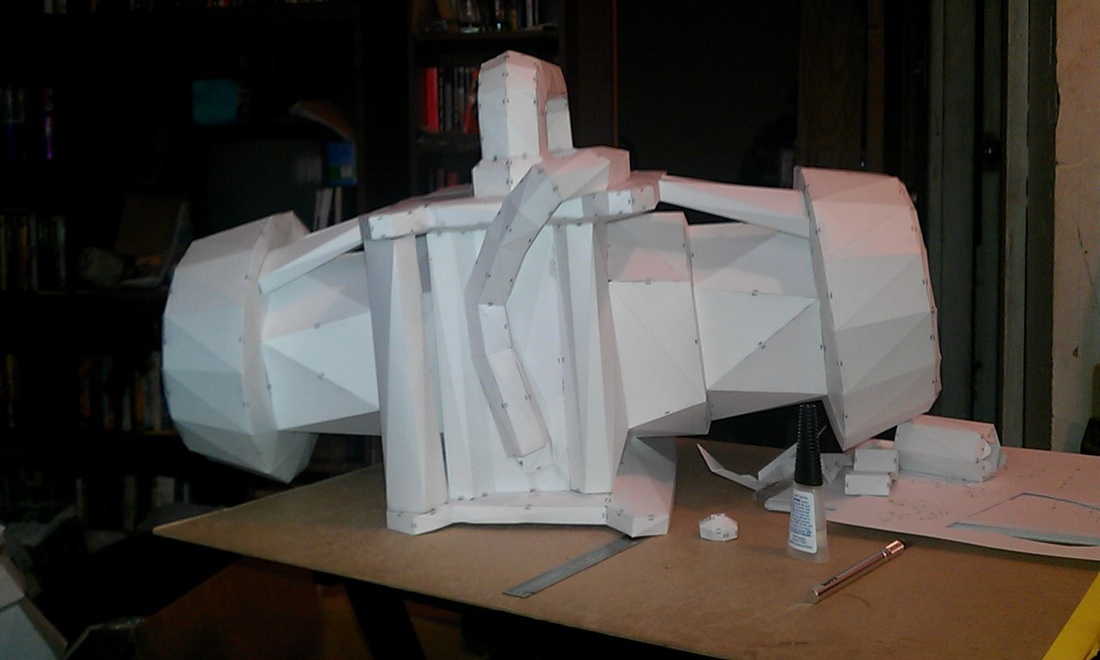 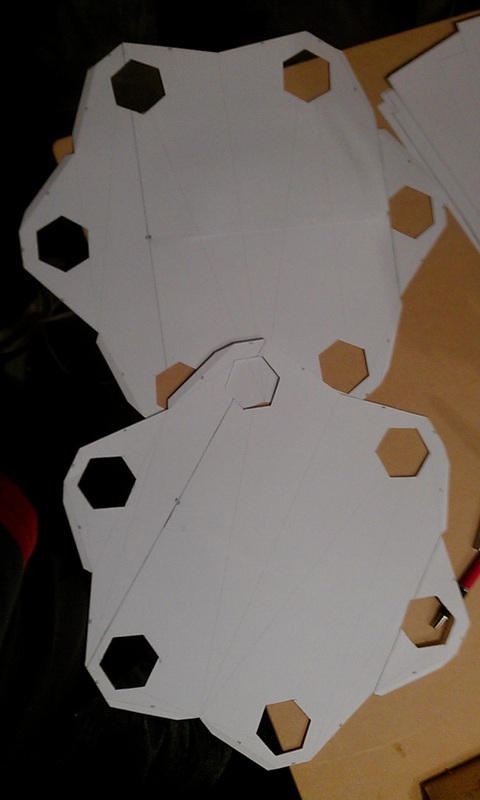 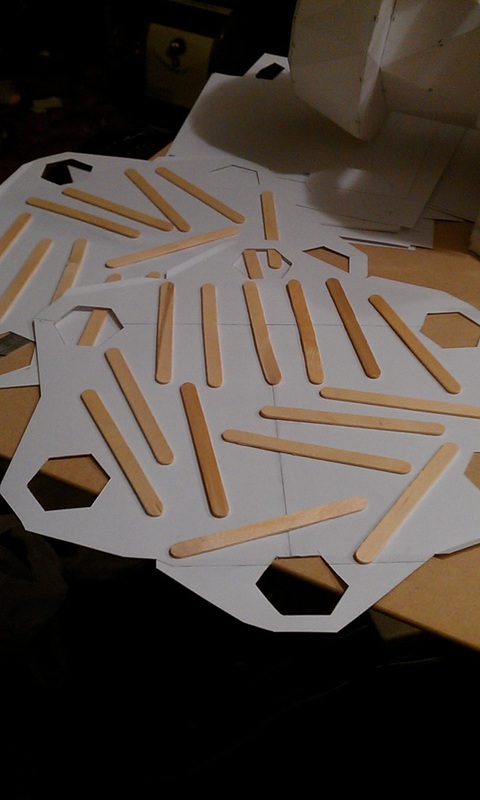  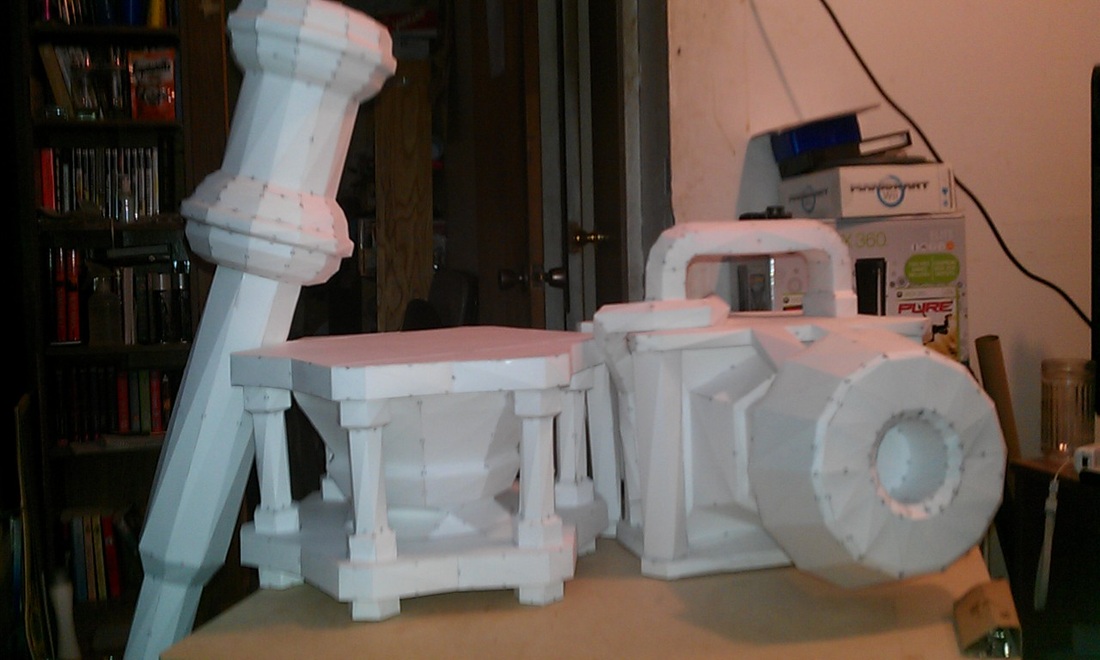 And here's the nearly assembled sledge, next to me! 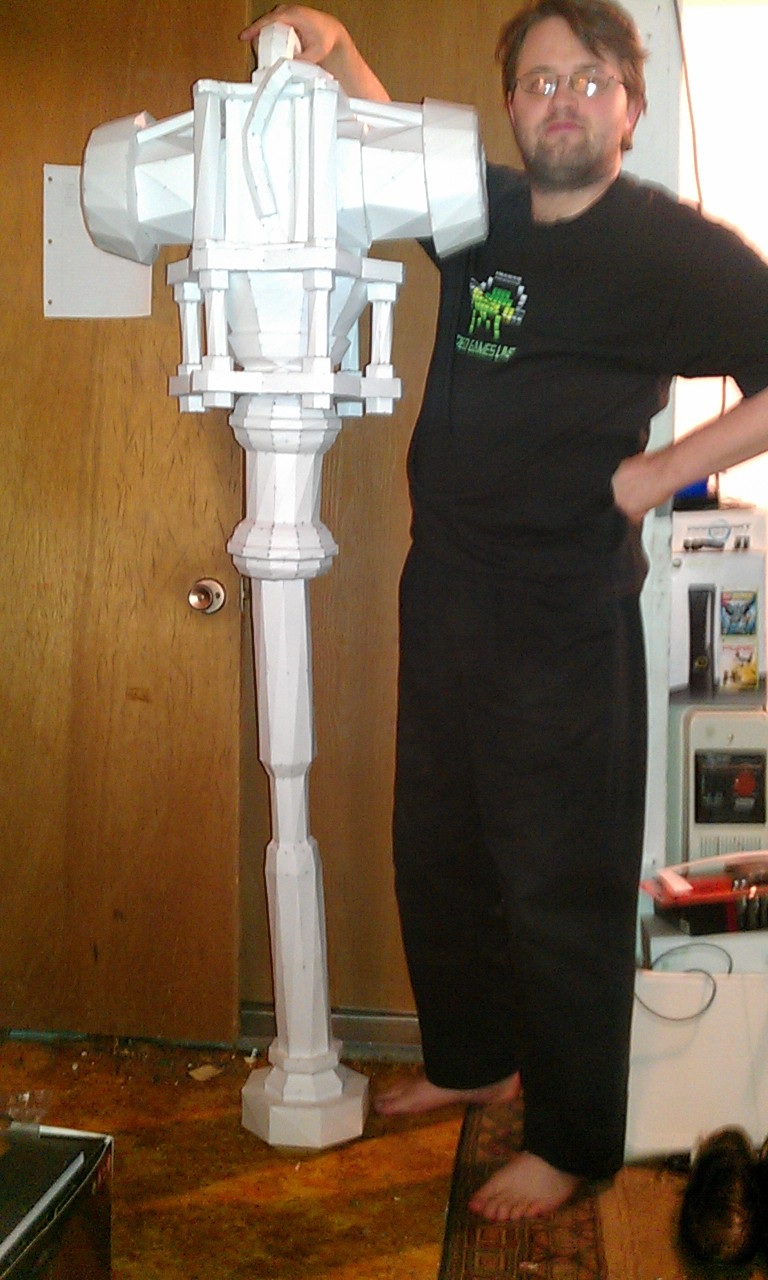
For now, you can also see this pic on the About page. At this stage, I determined that the staff section wouldn't be strong enough to hold the weight of the hammer, so I went looking for a pipe. Unfortunately, there aren't any 1.75" pipes, which would have fit perfectly. I was forced to get a 1.5" pipe, and pad it. With that, not only was the staff more durable, but also I had something to grip without worry of somehow smashing it. After that, I added some final details, and the hammer was ready for strengthening and details! 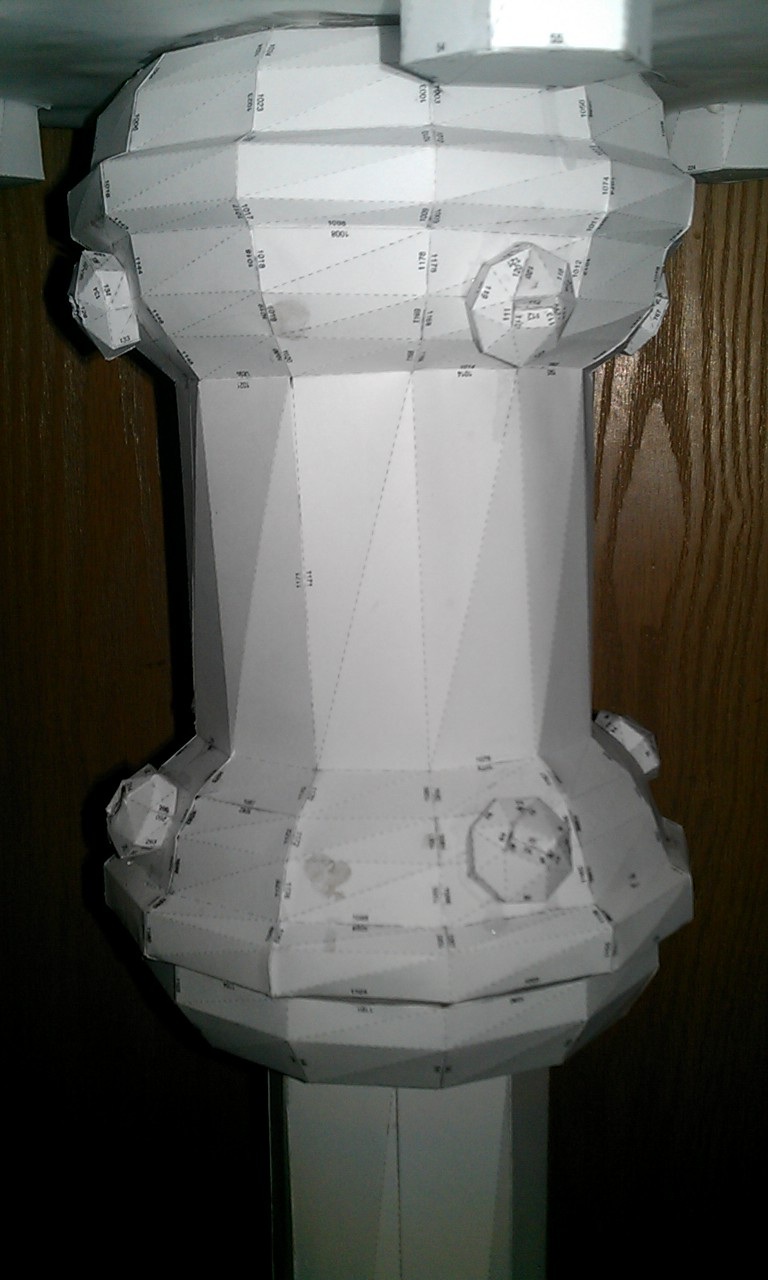
There was a close call, though, as you can see with the smudges. I had it stored away from everything, but it got shoved aside and a couple of spots caved in. I had to pop them out by lightly supergluing each spot to my finger, waiting a bit, then pulling them gently out again. To make sure it wouldn't happen again, I added some insulating spray foam to that section as well as the bottom bit of the hammer. It's winter here in Utah - well, sort of. New Years was 60 degrees, followed by a week of 20 degrees, then snow (which melted the same day) and so on. Because of this it was difficult to work with the resin and bondo I planned to use for it. I was able to heat up our shed outside, but not fully to a constant 60 degrees. The temperature is still playing games with me as we speak, so here's hoping it decides what it wants to do and sticks to it. Meantime, I was able to resin the entire hammer: 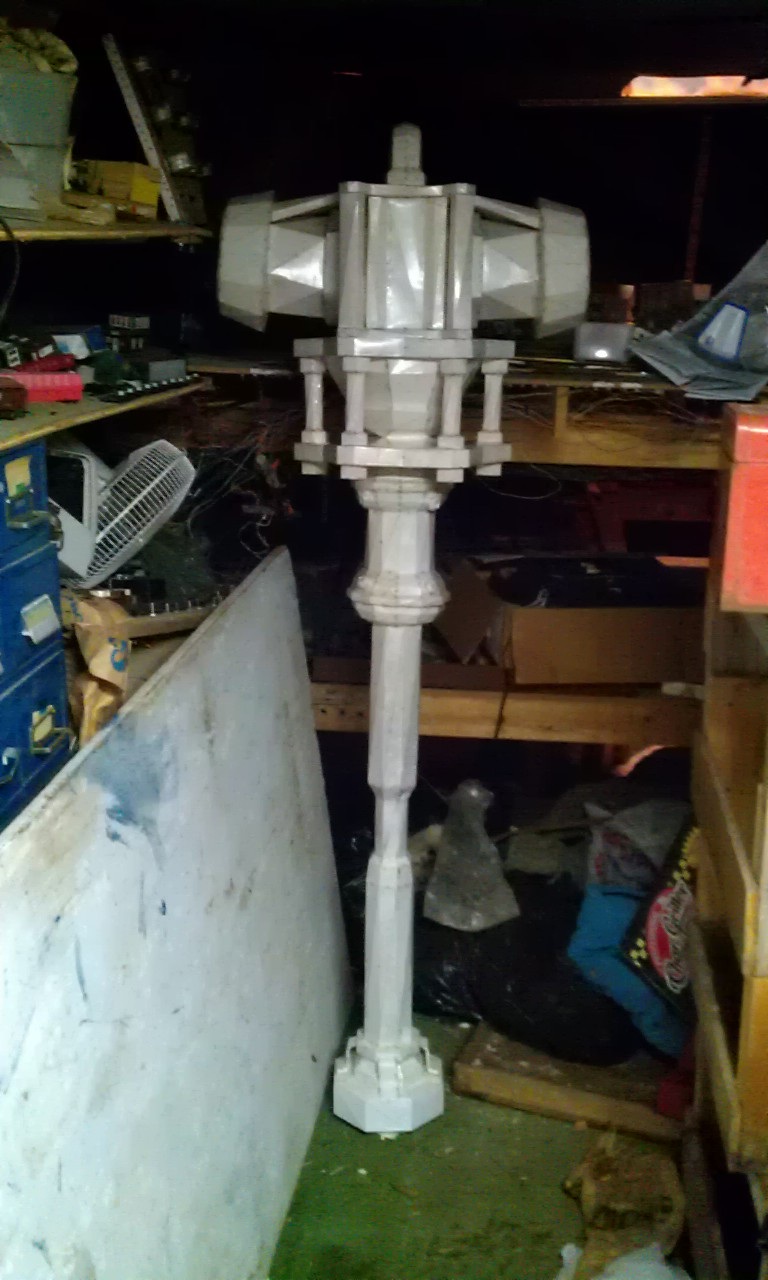
And then I mixed the resin and bondo for a smoother, easier to work with hardner: 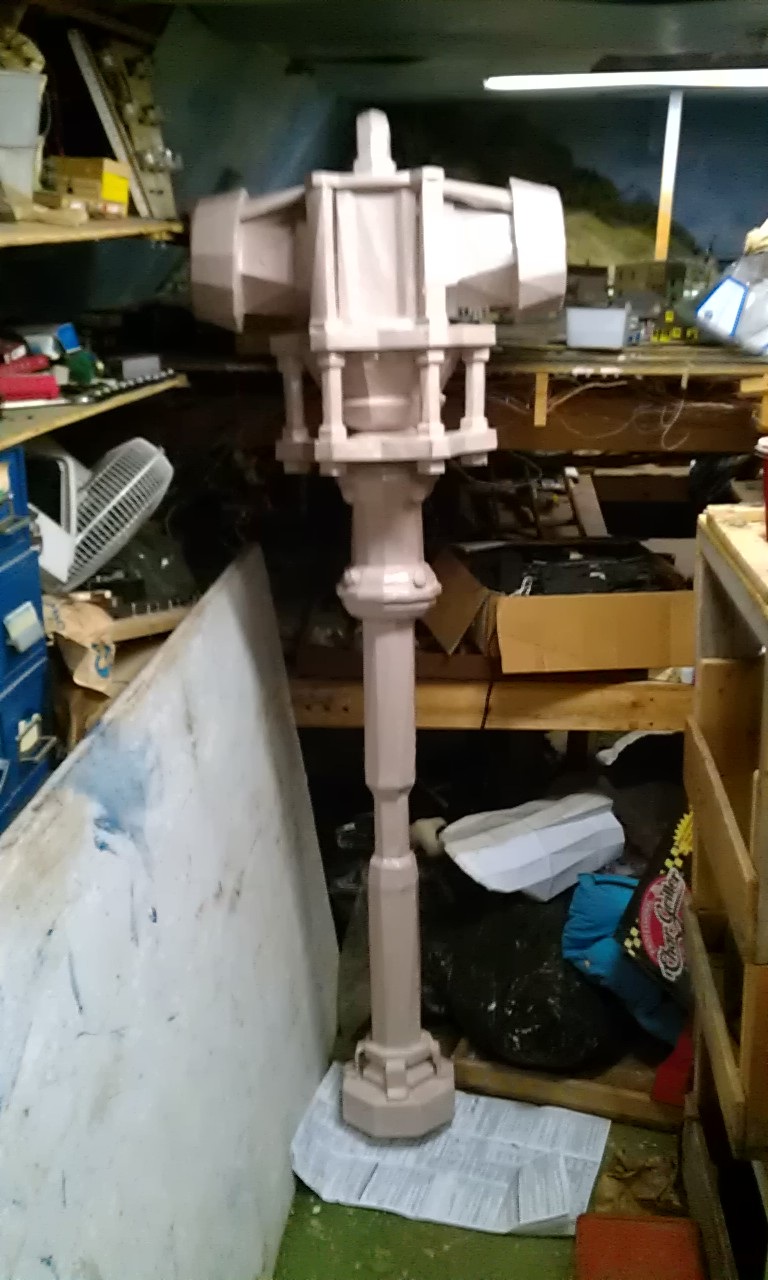
And that's the current progress shot. As soon as I get paid (which is only once a month) I'll be getting a dremel so I can smooth out bumps and drip spots. Hopefully I will be able to smooth some of the edges as well. I might try using tape or something similar to round the heads. We shall see!
|
|
 RSS Feed
